Account Settings
In This Article
- General Settings
- API Keys
- Permissions
- Attributes
- Issue Presets
- Statuses
- Priorities
- Disciplines
- Types
- Line Defaults
- Review Remarks
- Roles
- File Tags
- Features
General Settings
The settings sections of the account includes general settings, API keys, Permissions presets, and the defaults that are used creating new projects. Changes to the account settings will not affect existing projects.

- General Settings - includes the account name, logo, and timezone.
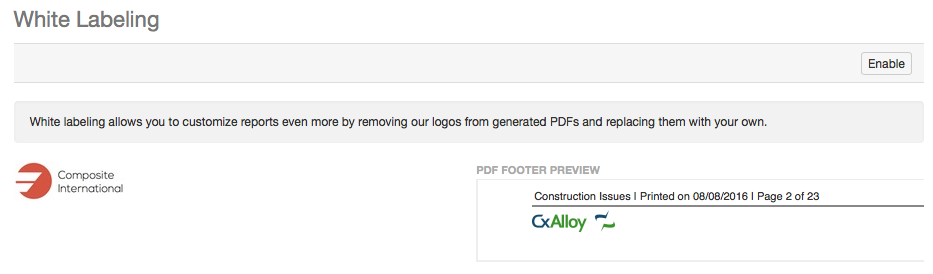
- Logo - White labeling is a premium feature and allows you to customize the screen view and reports with your company logo. To use white labeling, click the Enable button (top right) and upload an image. The uploaded image will replace the CxAlloy logo at the top left of the screen and in the footer of PDFs generated by CxAlloy TQ.
- If you disable white labeling or premium features on the account, header and PDF logos will revert to the application logos, but your account logo will not be affected. If you would like to delete an account logo, you may do so from the General Settings section.
API Keys

- API Keys - a dedicated page for generating and storing API keys, which are required to authenticate API requests.
Permissions

- Permissions - permission presets are managed at the account level, and can be used when inviting people to projects.
Attributes

- Attributes - used to track detailed information pertaining to equipment or issues, such as manufacturer or specifications. Account attributes can be added or edited individually, or via import.
- It is also possible to batch delete and merge attributes. Click the checkbox to the left to select an attribute. Upon selection, a batch action bar will appear with a Delete and a Merge button.
Deleting attributes will remove them from the list, and any references to those attributes in the account templates will be removed as well. - Merging an attribute will remove the attributes from the list, and change any references to those attributes to reference the attribute being merged into instead. A preview of the attributes' usage will be displayed in the confirmation modal.

- It is also possible to batch delete and merge attributes. Click the checkbox to the left to select an attribute. Upon selection, a batch action bar will appear with a Delete and a Merge button.

Issue Presets

- Issue Presets - a page for storing issue presets; presets are created by setting default values for commonly encountered problems, and the presets can be used when creating issues.
Statuses

- Statuses - statuses can be customized by name and color and organized into custom workflows. Issue statuses, equipment statuses, checklist statuses, and test statuses are all set in the same manner.
- Reorder - the order of statuses in their respective dropdown is determined by their order on the settings page. To move a status, click on the hamburger icon to the left of the status and drag it to its new position in the status list.

- Status Permissions - to the right side of each status row is an option for Permissions that can be used to limit access to specific statuses. By default, new statuses are set to All Responders. Checking the "Also restrict unsetting this status" option also prevents unauthorized users from switching away from a given status.

- Workflows - workflows ease the process of changing the status of a record. From within the detail view of an item with a status, the Mark as button will display the next status in the workflow.

- Add New - Press the large grey (+) arrow under New Workflow area. An empty status bar will appear. Choose a status from the dropdown menu. Add more status steps to the workflow by hovering over the front or back of the status arrow where you want to place another status. Another grey (+) arrow will appear. Click it to add another status in the same manner.
- Edit - Add a status to a workflow by hovering over the front or back of the status arrow where you want to place another status. A grey (+) arrow will appear. Click it to add another status. Click the X button on the right of the status arrow to remove it from the workflow.
Priorities

- Priorities - issues can be assigned a priority based on urgency. Priorities can be customized by name and color.
Types

- Types - a list of types can be customized for field observations, checklists, and reviews.
Line Defaults

- Line Defaults - contains options for global line defaults and standard question line labels.
Review Remarks

- Review Remarks - customized remarks can be added to reviews; these may include approvals, rejections or other standard comments.
Roles

- Roles - roles are used to identify individuals by a job or title and can be used for assigning items (issues, checklist sections, tests) to a group of people instead of a specific individual.
File Tags

- File Tags - used to provide context to uploaded files.
Features

- Feature Flags - a section for toggling account level feature flags.